聚光源 SpotLight
入门部分给大家介绍过平行光 DirectionalLight、点光源 PointLight、环境光 AmbientLight,下面给大家介绍一个新的光源对象,也就是聚光源 SpotLight。

创建聚光源 SpotLight
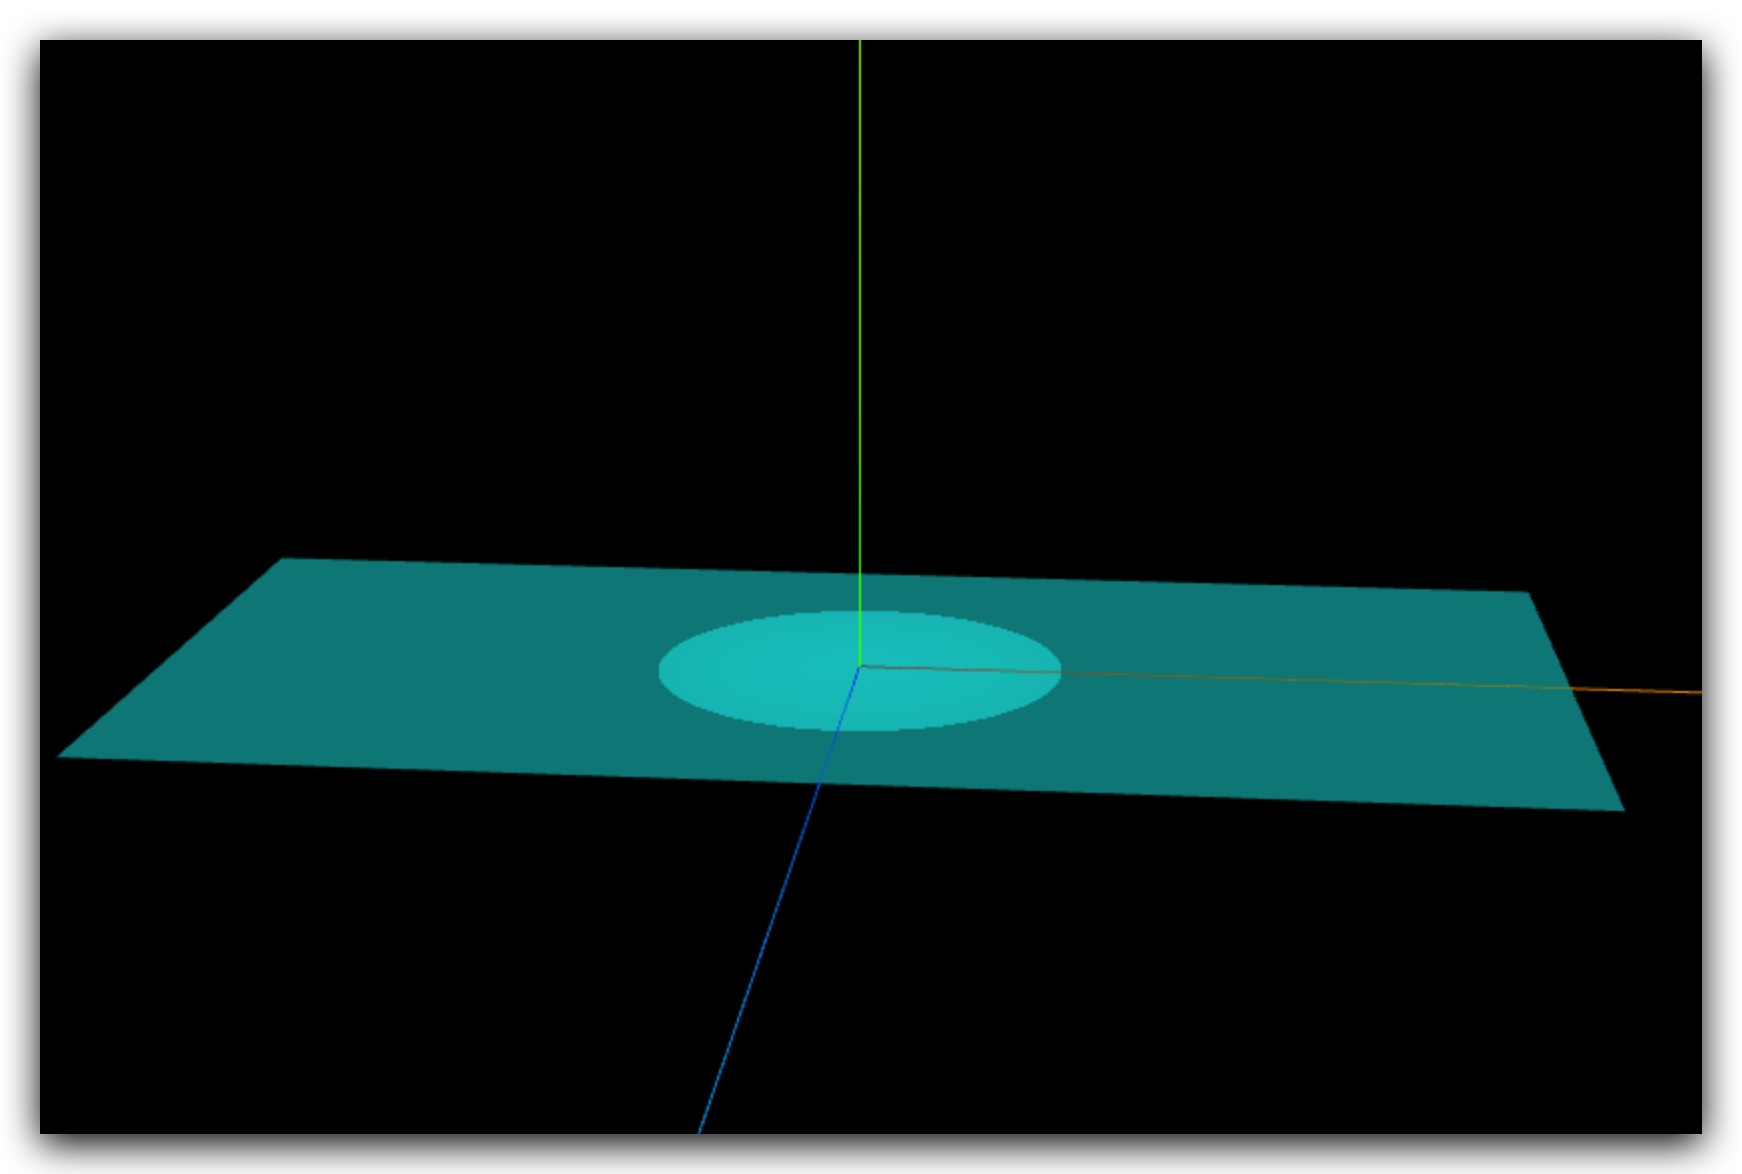
聚光源可以认为是一个沿着特定方会逐渐发散的光源,照射范围在三维空间中构成一个圆锥体。

js
// 0xffffff:光源颜色
// 1.0:光照强度intensity
const spotLight = new THREE.SpotLight(0xffffff, 1.0);
// 光源添加到场景中
scene.add(spotLight);光照强度也可以不通过 THREE.SpotLight 参数 2 设置,直接通过光照强度属性 .intensity 设置。
js
spotLight.intensity = 1.0; //光照强度聚光源发散角度 .angle
通过属性 .angle 可以设置聚光源发散角度,和目标 .target 两个属性来实现。
js
// 光锥角度的二分之一
spotLight.angle = Math.PI / 6;光源衰减 .decay
生活中聚光源,比如台灯、手电筒之类,随机距离的改变,光线会衰减,越来越弱,.decay 默认值是 2.0,如果你不希望衰减可以设置为 0.0。
js
// 设置光源不随距离衰减
spotLight.decay = 0.0;如果使用默认衰减 2.0,对于部分 threejs 新版本,有时候你可能看不到光源效果,这时候可以把光照强度加强,如果你的版本不影响,就不用加强光照强度(根据版本情况灵活对应)。
js
// 你可以对比不同光照强度明暗差异(传播同样距离)
spotLight.intensity = 1000.0;
spotLight.intensity = 5000.0;聚光源位置 .position
聚光源 SpotLight 的父类是 Light,Light 的父类是 Object3D,聚光源 SpotLight 会继承父类 Object3D 的位置属性 .position。
js
// 设置聚光光源位置
spotLight.position.set(0, 50, 0);聚光源目标对象 .target

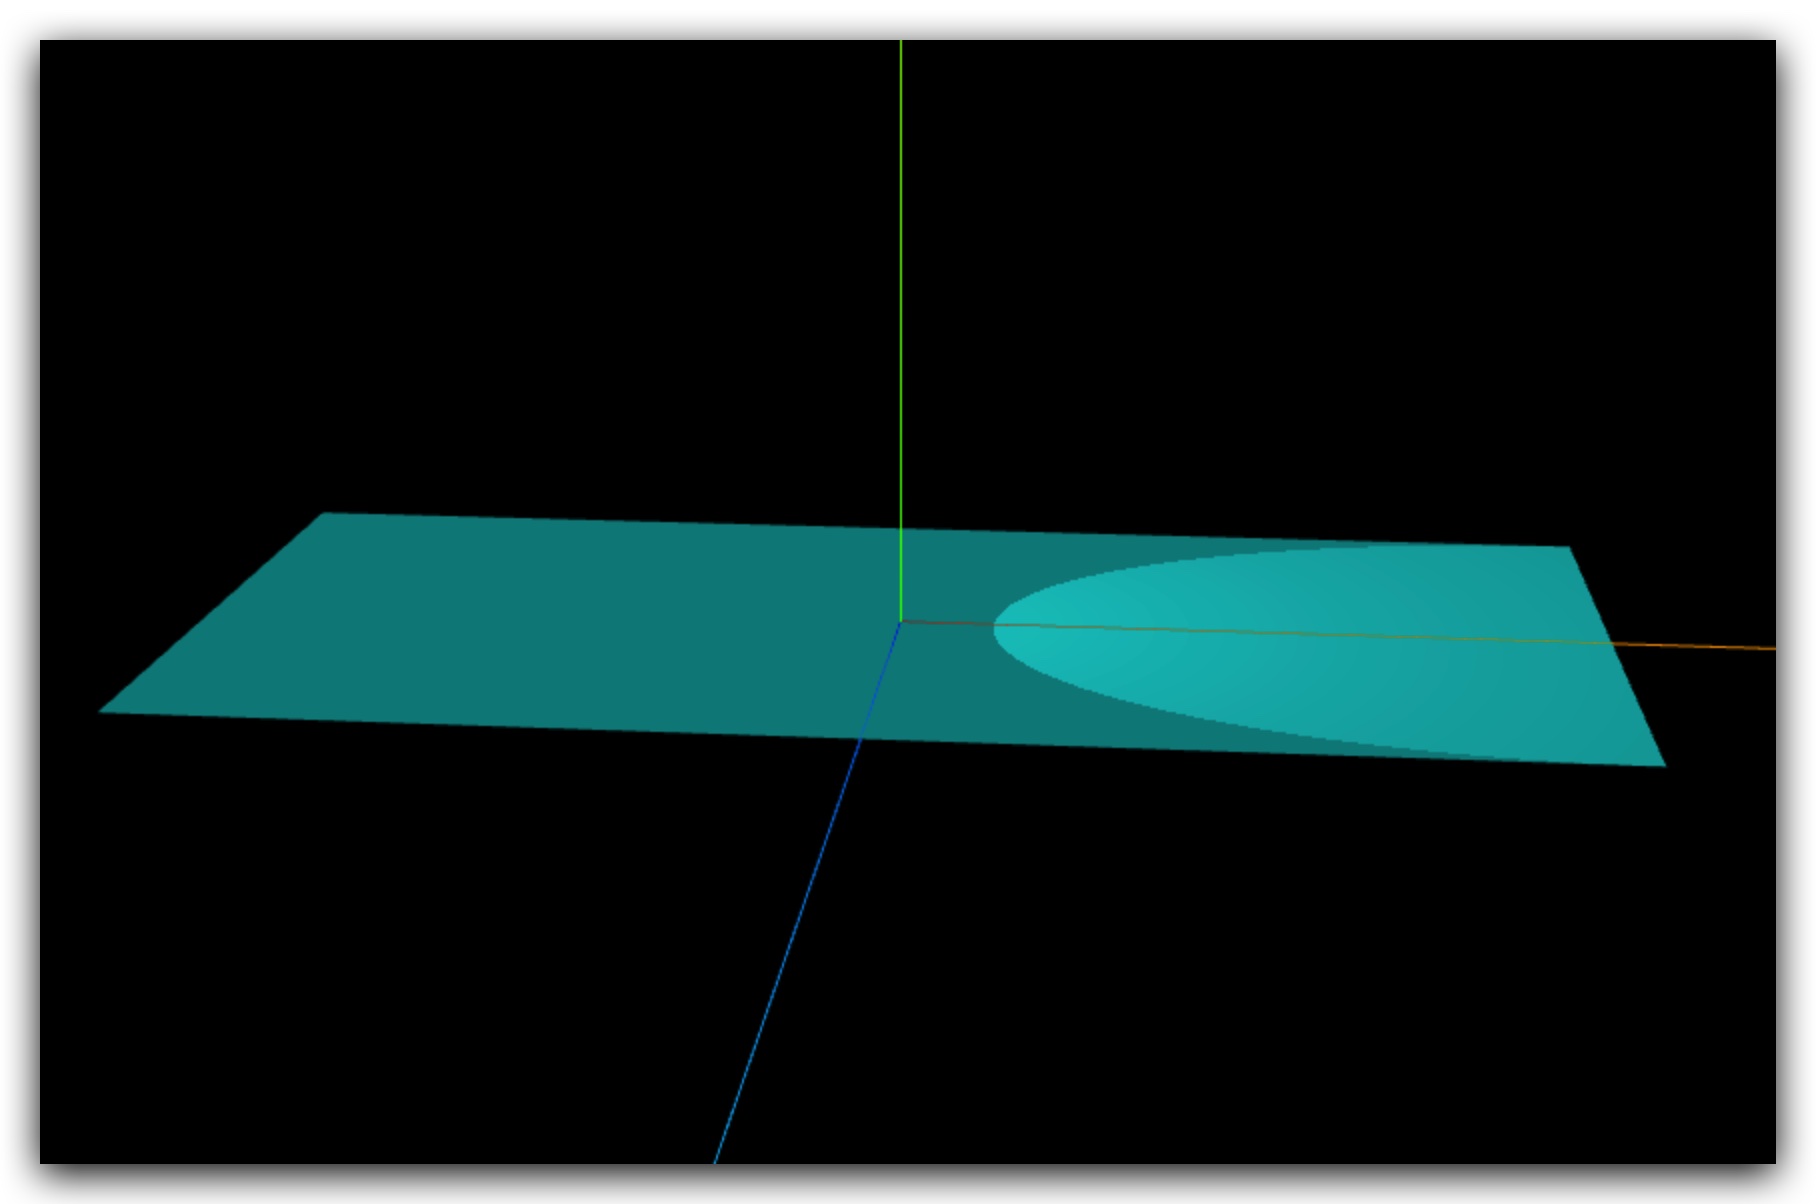
聚光源目标对象 .target 和光源的位置 .position 共同确定聚光源照射方向。
浏览器控制台打印聚光源目标对象 .target 属性,可以看到属性值是一个模型对象 Object3D。
js
console.log("聚光源指向目标", spotLight.target);聚光源目标对象属性的位置通过属性值 Object3D 的 .position 属性设置。
js
// spotLight.target是一个模型对象Object3D,默认在坐标原点
spotLight.target.position.set(50, 0, 0);
// spotLight.target添加到场景中.target.position才会起作用
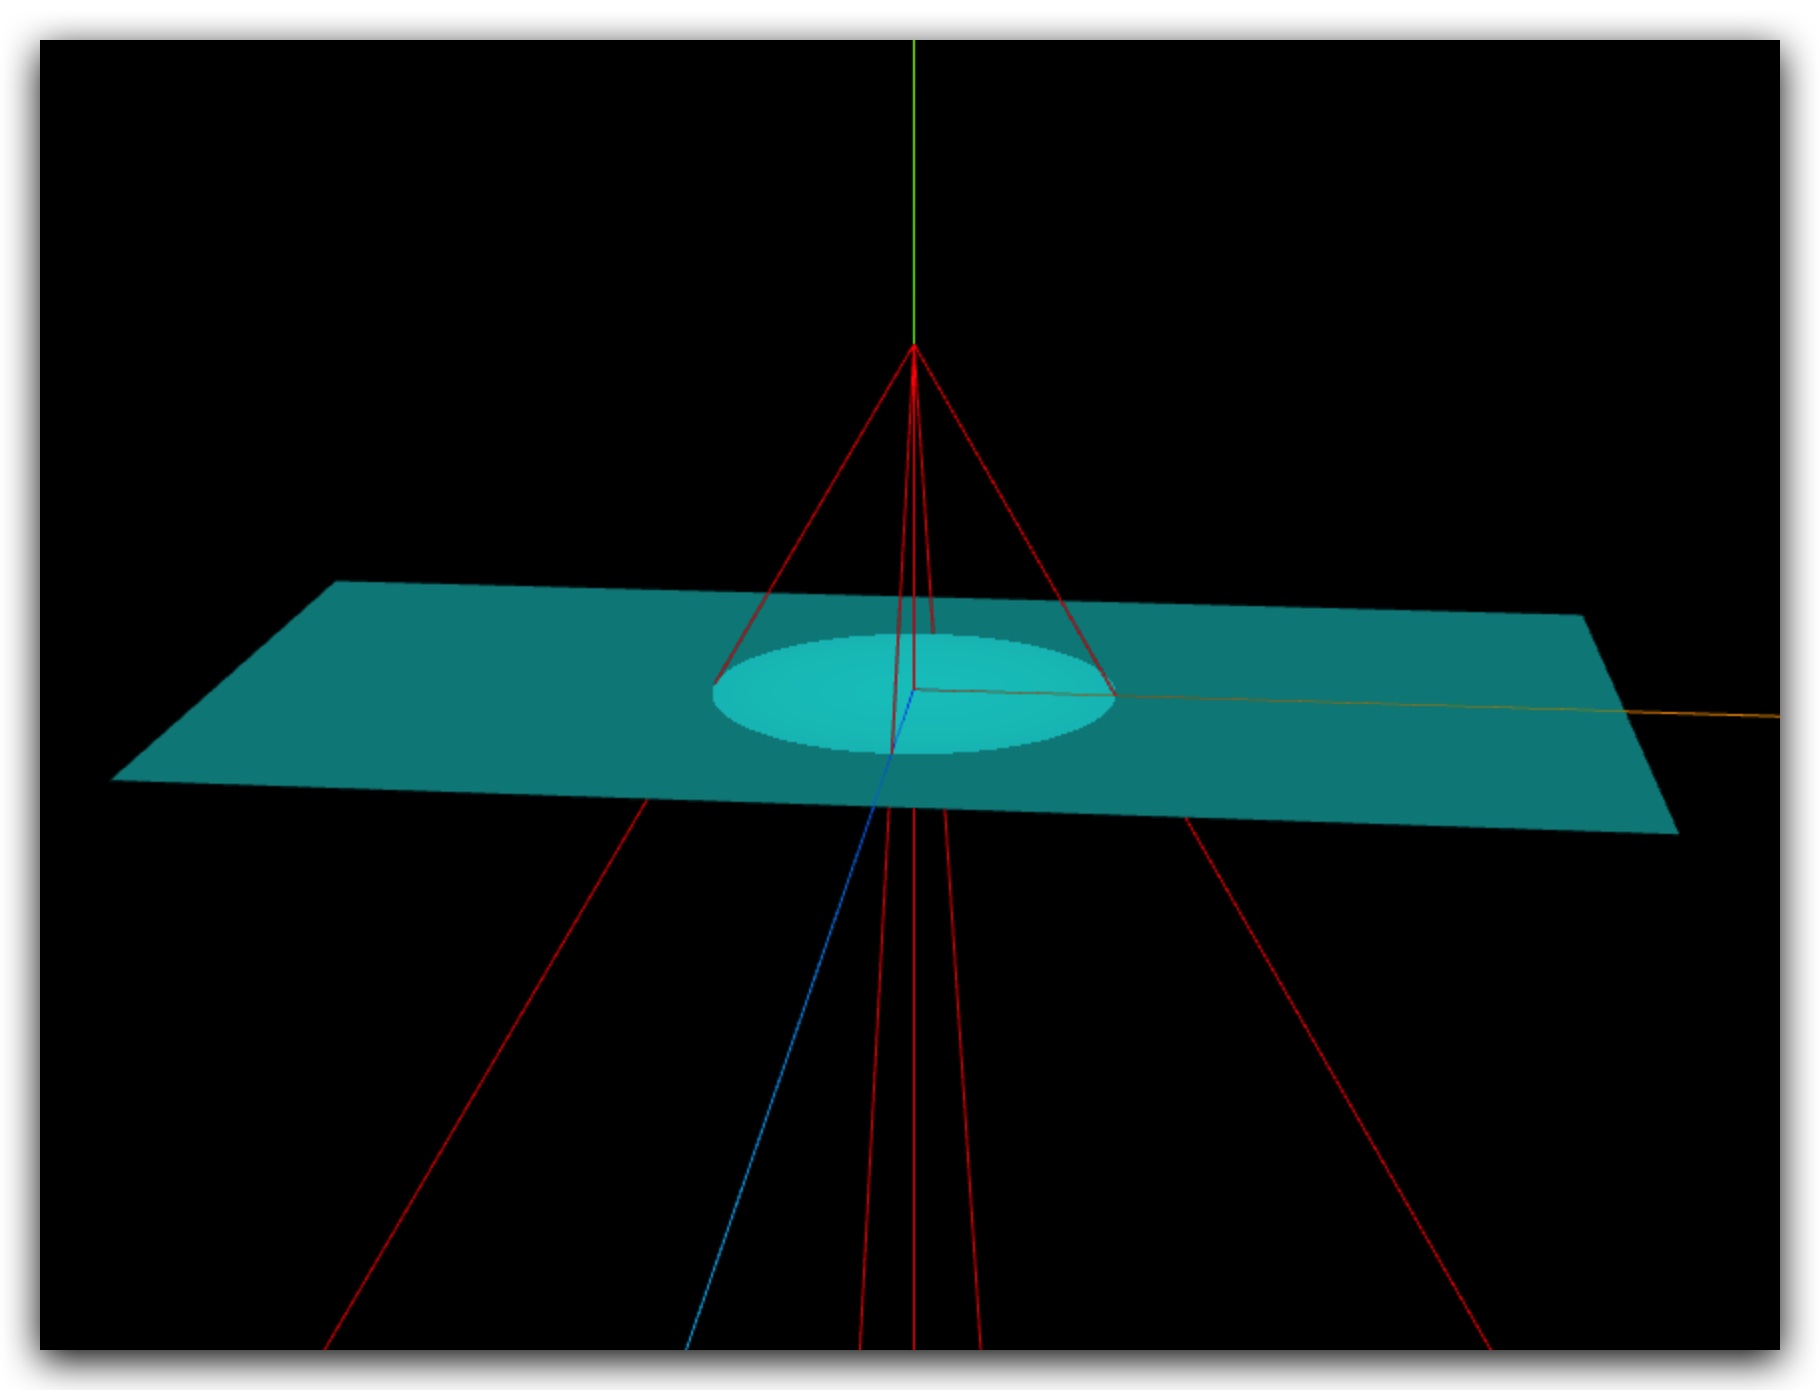
scene.add(spotLight.target);聚光源辅助对象 SpotLightHelper

js
// 聚光源辅助对象,可视化聚光源
const spotLightHelper = new THREE.SpotLightHelper(spotLight, 0xffffff);
scene.add(spotLightHelper);示例代码如下
vue
<template>
<div ref="lightDom"></div>
</template>
<script setup lang="ts">
import { ref, onMounted, onUnmounted } from 'vue';
import * as THREE from 'three';
import model from './model.js';
import { OrbitControls } from 'three/examples/jsm/controls/OrbitControls.js';
const lightDom = ref(null);
// 场景
const scene = new THREE.Scene();
scene.add(model);
// 辅助观察坐标系
const axesHelper = new THREE.AxesHelper(200);
scene.add(axesHelper);
// 灯光
const directionalLight = new THREE.DirectionalLight(0xffffff, 0.8);
directionalLight.position.set(100, 60, 50);
scene.add(directionalLight);
// 环境光
const ambientLight = new THREE.AmbientLight(0xffffff, 0.4);
scene.add(ambientLight);
// 聚光源
const spotLight = new THREE.SpotLight(0xffffff, 1.0);
scene.add(spotLight);
spotLight.angle = Math.PI / 6; // 发散角度
spotLight.decay = 0.0; // 光源不衰减
spotLight.position.set(0, 50, 0); // 聚光源位置
// 聚光源辅助对象
const spotLightHelper = new THREE.SpotLightHelper(spotLight, 0xff0000);
scene.add(spotLightHelper);
js
import * as THREE from 'three';

const geometry = new THREE.PlaneGeometry(200, 100);

const material = new THREE.MeshLambertMaterial({
    color: 0x00ffff,
    side: THREE.DoubleSide
});

const mesh = new THREE.Mesh(geometry, material);
mesh.rotateX(-Math.PI / 2);

export default mesh;